Build Base to Survive VERITY Boss Guide
How to prepare your base, protect the core, and survive the VERITY boss encounter with layered defense and disciplined positioning.
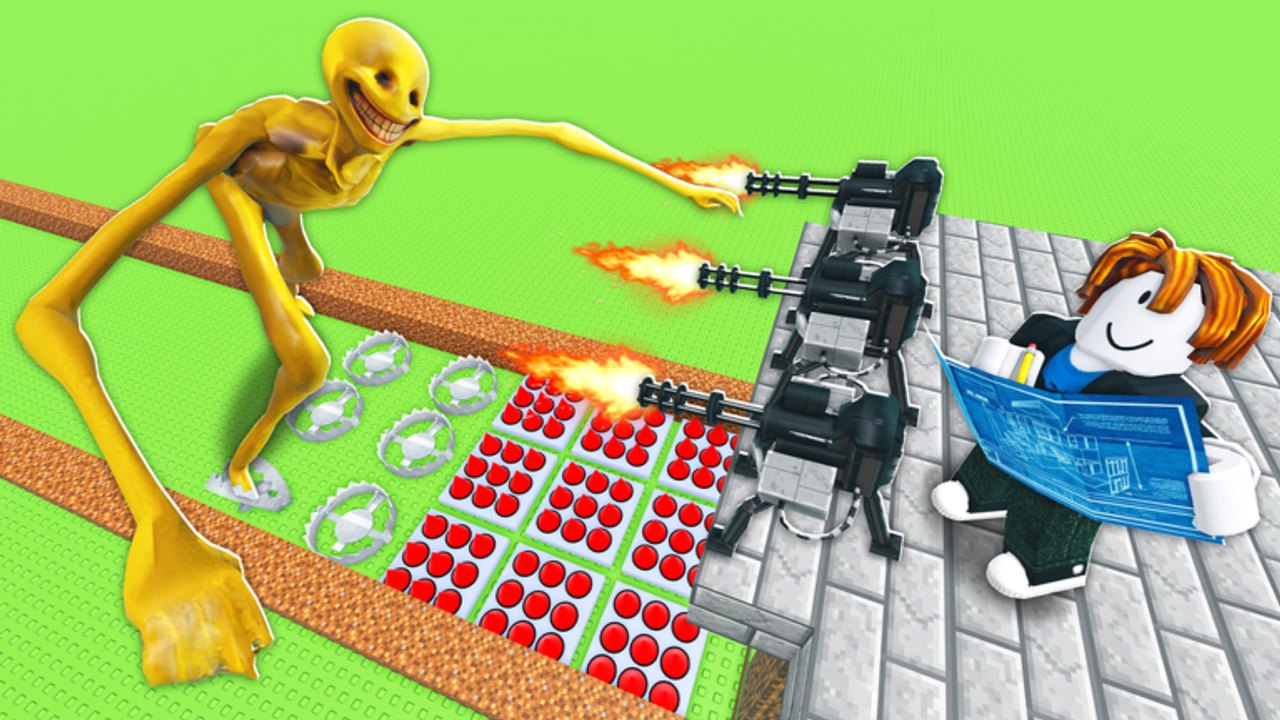
The VERITY boss encounter tests the structure of your base more than its appearance. When night falls and VERITY emerges from the portals, every weak wall and exposed turret becomes a liability. This boss guide shows how to build a layered defense system, protect the core, and execute a disciplined fight plan whether you are solo or in co-op.
Core principle: layered protection
A successful VERITY boss fight depends on turning your base into a layered defense system rather than a collection of powerful items placed randomly. Your core structure is the primary objective, but every defense around it also matters because damaged turrets reduce your ability to control later waves.
The safest approach divides the base into four zones:
| Zone | Primary function | Recommended approach |
|---|---|---|
| Core zone | Protect the heart block | Use multiple wall layers and avoid direct openings |
| Damage zone | Eliminate enemies | Place ranged defenses behind barriers or elevated cover |
| Control zone | Slow or weaken attackers | Combine narrow lanes with traps and doors |
| Recovery zone | Support the defense | Leave a clear route behind the main structure |
Keep the core compact enough to defend but leave room to move between defensive positions. A crowded base makes it difficult to reach a damaged turret or react to enemies entering from an unexpected direction.
Step-by-step boss preparation
Follow this setup process at the start of a run and repeat the inspection after major wave milestones:
-
Secure the heart block. Place the strongest available blocks around the core and close obvious gaps. Do not spend every resource on the outer wall — retain enough materials to reinforce the interior when enemies break through.
-
Create a controlled entrance. Guide enemies toward one or two predictable lanes. A controlled entrance allows traps and ranged defenses to focus fire instead of splitting damage across several directions.
-
Add protected ranged damage. Position turrets behind walls, on side platforms, or above the main lane. Avoid putting every defense at the front edge where enemies can attack them immediately.
-
Layer traps and barriers. Place contact defenses where enemies must pass after entering the lane. Barriers should delay attackers long enough for ranged weapons to finish them.
-
Reserve a player support position. Leave a safe route to the rear or upper section. From there, use your personal weapon to eliminate stragglers, support a damaged side, or pressure VERITY when defenses are occupied.
Defense and weapon priorities
Upgrade decisions should follow the condition of your base, not simply the most expensive item in the shop. A high-damage weapon is valuable only when it has time and space to attack.
Prioritize upgrades in this order:
- Heart block protection when attackers are reaching the objective
- Structural reinforcement when walls or platforms are breaking too quickly
- Protected area damage when enemies are surviving long enough to reach the base
- Anti-air or upper coverage when attacks are damaging exposed defenses from above
- Personal weapon power when the base is stable and you need emergency support
| Upgrade type | Best use | Main risk |
|---|---|---|
| Reinforced blocks | Protect the core and critical turrets | Spending too much before damage is established |
| Standard turrets | Consistent lane control | Poor performance when placed in open areas |
| Double or upgraded turrets | Stronger sustained damage | High value lost if enemies destroy them |
| Close-range defense | Crowd control | Limited reach and possible blind spots |
| Long-range defense | High-pressure late-wave damage | Requires a protected firing position |
| Personal weapon | Emergency damage and boss support | Cannot replace a properly built base |
The best loadout combines different roles instead of repeating one item. Ranged defenses handle the main lane, traps punish enemies that get close, and the player weapon covers leaks.
How to survive the VERITY boss encounter
Before starting the encounter, complete a full perimeter check. Look for broken walls, unprotected turrets, open roof sections, and blocked movement routes. A few seconds of preparation prevents a small breach from becoming a direct attack on the core.
Use this boss routine:
- Begin behind cover. Start from a position that lets you observe the boss without exposing the core.
- Watch the attack direction. If VERITY pressures one side, reinforce that side while keeping the opposite lane active.
- Protect damage dealers. Do not abandon a vulnerable turret if repairing or reinforcing it prevents a larger collapse.
- Clear smaller enemies first. Minor enemies can overwhelm the base while your attention is fixed on the boss.
- Use personal damage selectively. Attack when VERITY is within safe range or when defenses need support.
- Retreat through prepared routes. Never trap yourself between VERITY, a wall, and the core.
| Boss situation | Player response | Base response |
|---|---|---|
| Boss approaches main lane | Attack from cover and maintain distance | Keep traps active and preserve ranged fire |
| Boss reaches a wall | Reinforce or reposition immediately | Shift focus to the threatened section |
| Smaller enemies surround base | Clear the nearest breach | Preserve the core rather than chasing distant targets |
| A turret is exposed | Move or protect it if possible | Maintain at least one active damage lane |
| Core walls are failing | Return to the heart block | Spend resources on survival before offense |
The most dangerous mistake is tunnel vision. Focusing only on VERITY can allow smaller enemies to destroy support defenses, while focusing only on repairs gives VERITY time to reach the core. Alternate between boss pressure, perimeter checks, and emergency construction.
Before starting the boss wave
- Reinforce the core with the strongest available blocks
- Confirm that primary turrets have cover and clear firing lanes
- Close roof gaps and protect upper defenses
- Leave a usable rear or side route for repositioning
- Keep a personal weapon ready for leaks and emergency damage
Mistakes that cause boss wipes
| Mistake | Why it fails | Better correction |
|---|---|---|
| Stacking all weapons together | One breach disables the entire damage system | Split defenses across protected positions |
| Leaving the roof open | Upper attacks bypass front walls | Add overhead cover and upper firing points |
| Buying offense before repairs | New damage does not solve structural collapse | Restore the core and critical defenses first |
| Building too many walls without lanes | Player cannot reach damaged sections | Preserve stairs, corridors, and escape routes |
| Ignoring smaller enemies | They destroy support defenses during boss phase | Clear nearby threats before committing to the boss |
| Standing at the front wall | Player becomes trapped during a breach | Fight from a rear or side support position |
After every major failure, change one variable at a time: defense location, wall material, lane shape, or upgrade order. This makes it easier to identify the real weakness.
Progression checklist
| Checkpoint | Inspect first | Action if weak |
|---|---|---|
| Early waves | Core access | Close gaps and shorten the approach |
| Mid progression | Turret exposure | Move weapons behind cover or to side platforms |
| Air pressure | Roof and upper defenses | Add overhead protection and preserve firing angles |
| Boss approach | Core walls and damage output | Upgrade the weakest layer before buying another weapon |
| Boss phase | Player escape route | Keep a clear path for repositioning |
Related guides
- Night survival: survive VERITY night
- Turret placement: turret placement
- Safest base: safest base
- Money farm: money farm build
The embedded YouTube showcase demonstrates how heavy Cash actually looks when invested properly in turrets and blocks — watch how the creator structures layered defenses for sustained boss pressure.
Frequently Asked Questions
Quick answers for Build Base to Survive VERITY players.
What is the most important part of a boss defense?
Layered protection. Secure the core, create a controlled approach lane, protect ranged defenses, and keep a clear route for player support.
Should I buy more weapons or stronger walls first?
Buy stronger walls or repair existing defenses first when enemies are reaching the core or destroying turrets. Choose additional damage only after the base can keep those weapons active.
Where should I place turrets for the boss encounter?
Place turrets behind cover with clear firing angles toward the main approach. Side platforms and elevated positions work when they remain reachable and protected from direct attacks.
Can a personal weapon replace a strong base?
No. A personal weapon helps with leaks, stragglers, and emergency boss damage, but it should support the base rather than replace core protection and automated defenses.
How do I prepare my base before the boss wave?
Complete a full perimeter check: look for broken walls, unprotected turrets, open roof sections, and blocked movement routes. Reinforce the core, confirm turrets have cover, and leave a clear escape route.