Build Base to Survive VERITY Enemies Guide
How to read enemy pressure, prioritize targets, and survive when VERITY sends waves at night.
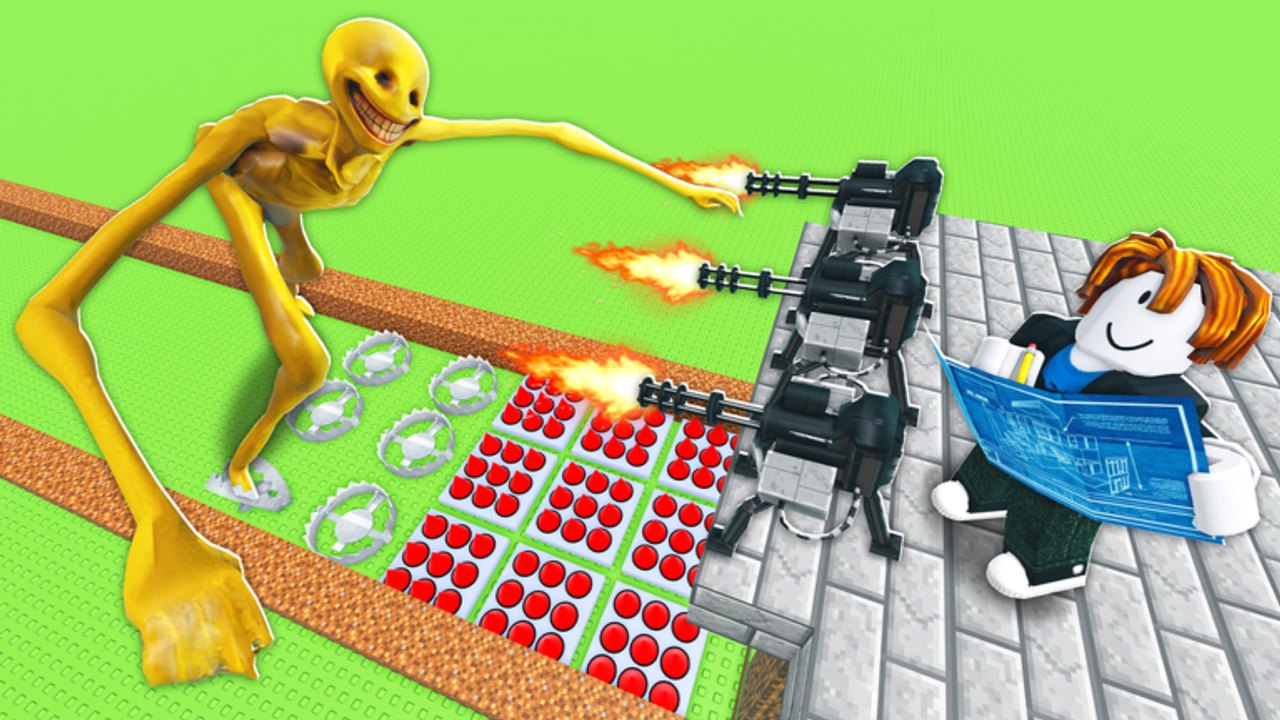
Nightfall transforms a creative build into a defense test in Build Base to Survive VERITY. VERITY appears at night and tests every weak wall you left open. This enemies guide shows how to read observable threat behavior, prioritize targets by objective impact rather than guesswork, and position your base so waves become manageable instead of chaotic.
What the community confirms about enemies
The core enemy is VERITY itself — a monster that emerges after dark and hunts your base with rockets and direct assault. The experience description confirms custom building, turrets, guns, cooperative building, and autosaving. Community strategy guides describe threats by observable behavior rather than officially named enemy types.
| Confirmed detail | Defensive takeaway |
|---|---|
| VERITY appears at night | Finish the core structure before the attack begins |
| Players can build custom structures | A compact layout is easier to defend than a decorative maze |
| Turrets and guns are defense tools | Give each defensive tool a clear lane or target priority |
| Servers support up to six players | Divide building, lookout, repair, and combat responsibilities |
Reading enemy pressure by behavior
The best way to handle Build Base to Survive VERITY enemies is to sort targets by what they do rather than assume every threat has a known class. This approach focuses on response categories that community strategy material consistently describes.
| What you observe | Why it matters | Recommended response |
|---|---|---|
| A target damages a critical wall | The objective is losing protection immediately | Focus fire and stabilize that section first |
| A fast target approaches an opening | You have less time to react or reposition | Use concentrated or burst damage |
| A target bypasses the main lane | It may reach the interior without facing primary defense | Rotate and cover the alternate route |
| Several targets gather near a chokepoint | Multiple threats can overwhelm one defender | Use sustained or area-control damage |
| A distant target is not threatening the base | Chasing it wastes time and exposes you | Hold position unless the main lane is safe |
Use an objective-first scan throughout the attack phase:
- Is the most important wall still protected?
- Which target can reach an opening soonest?
- Is your firing position still visible and covered?
- Can you retreat without becoming trapped?
- Has a new route become more dangerous than the original approach?
Distance alone should not determine your target. A nearby enemy that is not damaging anything may be less urgent than a farther target attacking a critical structure.
Base layouts that keep enemy pressure manageable
A strong answer to Build Base to Survive VERITY enemies begins before night: build for visibility, survivability, and rotation. Community strategy consistently favors a compact structure with a controlled entrance, a protected firing angle, layered cover, and an emergency route.
| Layout style | Main advantage | Main drawback | Best fit |
|---|---|---|---|
| Compact bunker | Easy to defend and rotate | Interior can become crowded | Newer or solo players |
| Elevated firing position | Better visibility over approach | May become exposed if damaged | Players with reliable aim |
| Wide fortified base | Several defensive angles | More surfaces require attention | Organized teams |
| Mobile defense | Flexible when threats change | Less protection while moving | Experienced players |
Five construction rules for enemy defense
- Build the core first. Create a small protected area before spending blocks on decoration or extra rooms.
- Keep one clear sightline. You need to see the main approach without your own walls hiding targets.
- Use layered cover. Do not rely on one block or one wall to keep the entire defense functional.
- Leave an escape route. A secondary path gives you room to reposition after a breach or dangerous attack.
- Stand away from the key wall. If a target breaks through, you need space to retreat instead of being pinned against the structure.
Weapons and turrets against enemies
Community-sourced tier rankings for weapon roles (not verified official balance data):
| Weapon role | Strategy tier | Best use | Main limitation |
|---|---|---|---|
| Reliable automatic damage | S | Holding one lane against repeated pressure | May take longer against heavily protected targets |
| High-impact burst damage | S | Removing a dangerous priority target quickly | Missed timing or aim is costly |
| Long-range precision | A | Covering an open approach from safety | Requires visibility and accuracy |
| Area-control damage | A | Handling clustered targets near a chokepoint | Less efficient when targets are spread out |
| Close-range damage | B | Emergency defense after a breach | Risky against fast threats |
| Mobility or escape utility | B | Repositioning after a breach | Usually weaker as primary damage option |
For general defense, reliable automatic or sustained damage is the most forgiving starting role. Keep your aim near the approach that threatens the base most, fire consistently, and avoid leaving cover to chase a target that is not affecting the objective.
Turrets should cover the main approach while you watch a secondary angle, repair a weak section, or respond to a breach. Do not assume that placing every defense in one location protects the entire structure — spread coverage according to the routes you can actually see.
Round-by-round plan for enemy waves
| Stage | Main goal | What to do |
|---|---|---|
| Build phase | Establish survival basics | Place core walls, choose main approach, reserve escape route |
| Pre-attack check | Remove avoidable weaknesses | Test sightlines, position cover, prepare guns or turrets, identify key wall |
| First contact | Read behavior before reacting | Decide which target threatens the objective and fire from protected ground |
| Heavy pressure or breach | Preserve the base | Rotate to another angle, protect damaged section, avoid getting trapped |
| Recovery | Restore control | Repair weak areas, reassess routes, return to highest-priority lane |
A six-player server does not require six people to perform the same job. With three players, one can watch the main approach, one can build or repair, and one can respond to a secondary route or breach.
Mistakes that make enemy pressure worse
- Building outward before the core defense works
- Blocking your own sightline with extra structures
- Protecting only the front while ignoring another visible route
- Standing directly beside the wall you need to defend
- Chasing a low-priority target away from the base
- Spending every resource on damage while leaving no cover or escape path
Track three things continuously: the condition of important walls, the location of fast threats, and your retreat route. If one of those becomes dangerous, stop attacking low-priority targets and stabilize the base first.
Related guides
- Beat VERITY: how to beat VERITY
- Night survival: survive VERITY night
- Turret placement: turret placement
- Safest base layouts: safest base
The YouTube video embedded above shows a real player building the safest base configuration and surviving VERITY at night — watch how they position turrets and manage the kill pocket when pressure builds.
Frequently Asked Questions
Quick answers for Build Base to Survive VERITY players.
What enemies appear in Build Base to Survive VERITY?
VERITY is the primary confirmed nighttime threat. Community guides describe observable behaviors (fast targets, wall-damaging units, chokepoint clusters) rather than officially named enemy types.
How do I prioritize targets during a wave?
Focus first on threats damaging critical walls, then fast targets approaching openings, then clusters at chokepoints. Ignore distant targets not affecting the objective.
What base layout works best against enemy waves?
Start with a compact bunker: controlled entrance, protected firing angle, layered cover, and one escape route. Expand only when a new section improves visibility or protection.
Should I chase enemies away from my base?
No. Leave the base only when an open angle makes the target easier to handle, the structure is already compromised, or you need to draw pressure away with a clear route back.
How many players do I need to survive waves?
Solo play works with a compact base and working turret nest. For teams, assign roles: one watches the main approach, one repairs, one handles secondary routes or breaches.